|
| SHOP | • | ARCHIVE | • | MKH NEWS | • | PFI | • | SHOPPERS' UPDATE | • | HOME |
| MY LIFE | ||||
|
CHESED CHILDREN
TRAVEL MISC MORE |
||||
|
|
| MY SIMCHA |
|
|
|
| MY YEAR | ||||||||
MORE |
||||||||
|
|
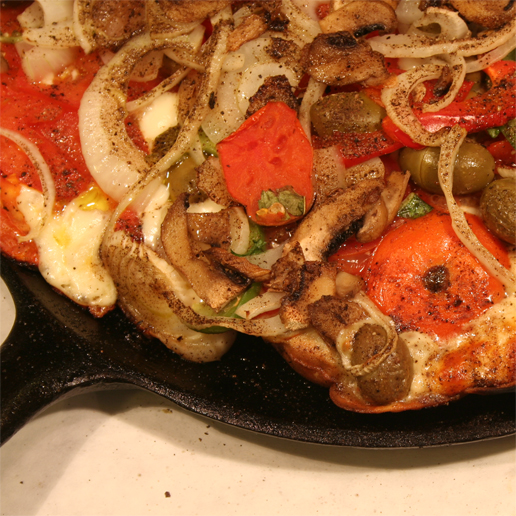
PFI: Pizza
The
Plain Food Institute is proud of its innovations and accomplishments,
none more than its pizza. After years of research in our test
kitchens we've perfected the method of making good home pizza.
Please note, "method" not "taste." There are a great many varieties
of tasty pizza that can be spun out of the basic method presented
here. The ingredients used here are incidental, it's what we
happened to have. Your choices may be wider, or more bizarre.
The method was devised to overcome
the heat limitations of the residential oven and employs a utensil
commonly found but rarely used for this application...a 12" round,
heavy cast iron griddle. You'll need 4 of them which, after
toveling, must be properly "seasoned" prior to use.
There are several distinct phases: (1) The Bottom: mixing the dough for the crust, (2) The Top: cutting up and preparing everything that goes on top of the crust, and (3) The Rest: rolling out the dough, assembling, baking, and serving the pies.
There are several distinct phases: (1) The Bottom: mixing the dough for the crust, (2) The Top: cutting up and preparing everything that goes on top of the crust, and (3) The Rest: rolling out the dough, assembling, baking, and serving the pies.
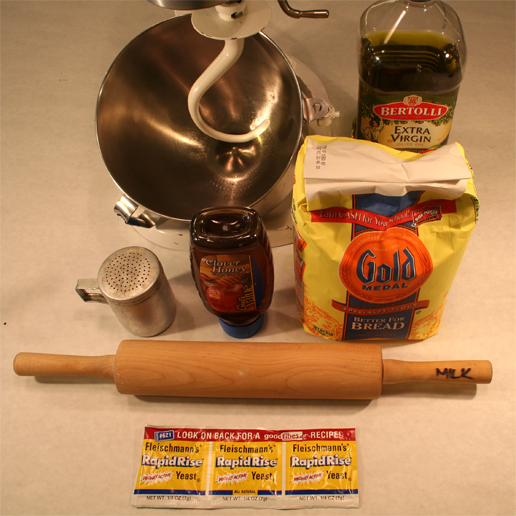
Part 1 - The Bottom
The items below are used to make the
crust. If you don't make it from scratch, it's not worth the
effort. Here's what you'll need: bread flour, yeast, hot
water, honey, salt, and a little olive oil.
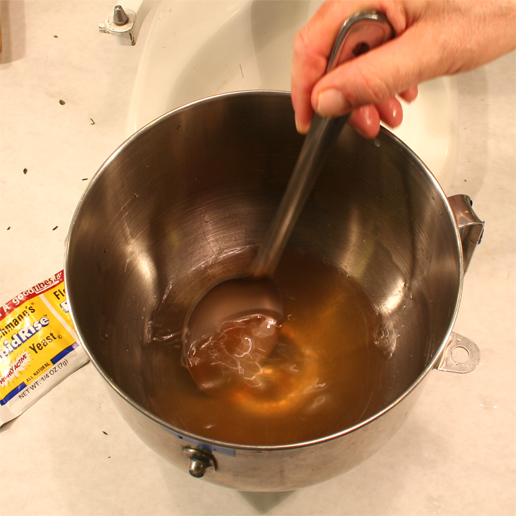
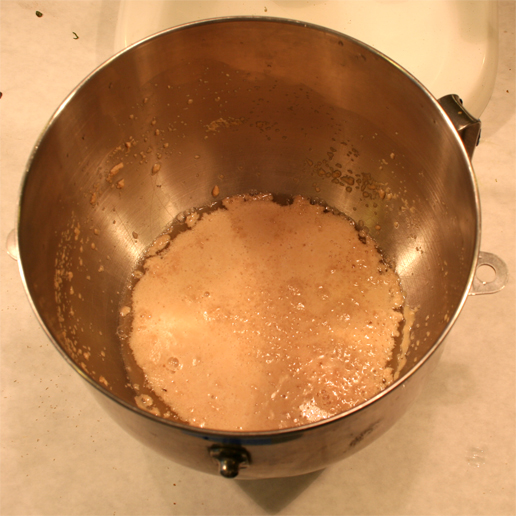
Add 2 cups hot tap water (no hotter than 120º) to a good slug of honey, then mix till honey is dissolved.
Clip the top off all 3 connected packets of yeast and dump into the warm water and honey.
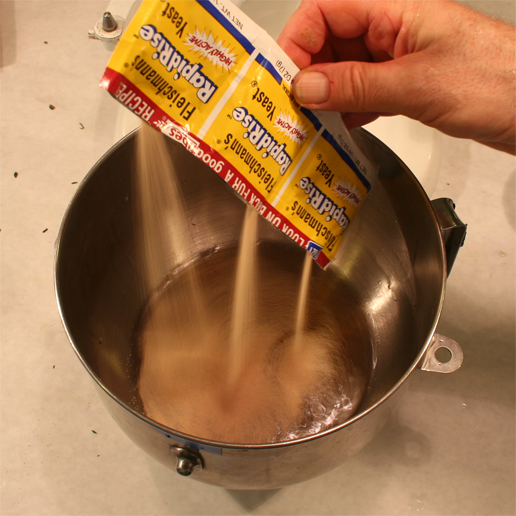
Slosh around until all the yeast is submerged, then wait a few minutes until the yeast "blooms."
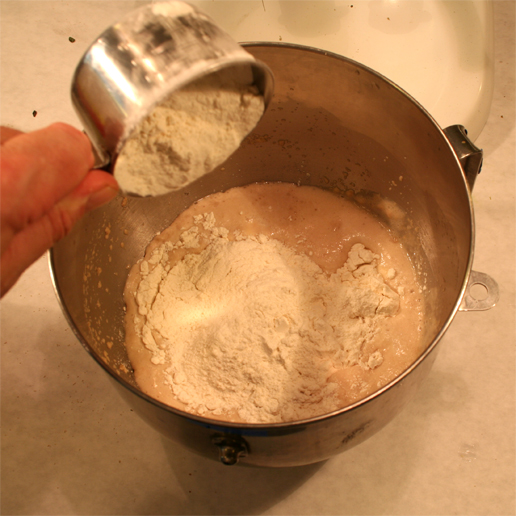
Add 5 cups of flour (more or less) to make a stiff, springy dough. This will make about 18 12" pies.
Finish with a little salt and olive oil.
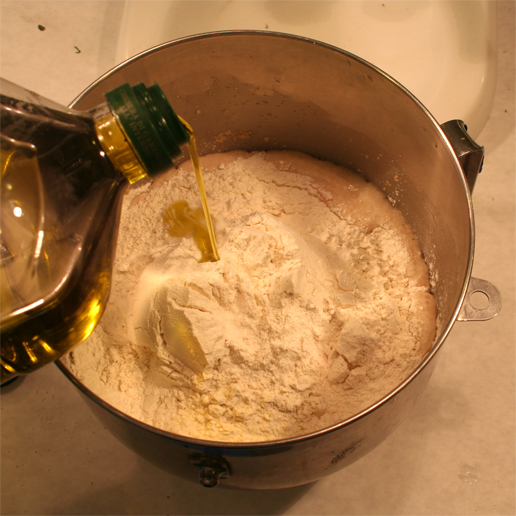
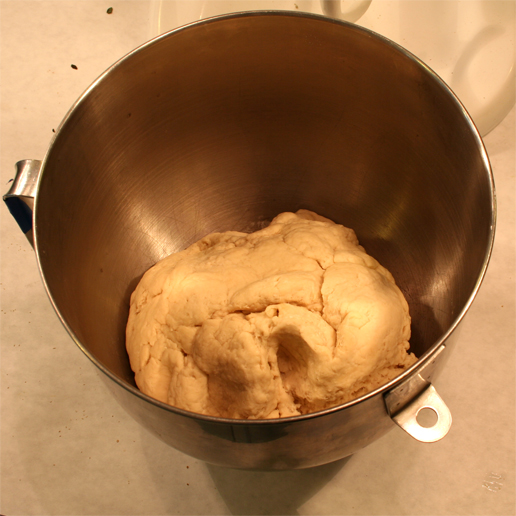
Mix with a dough hook until the dough cleans the bowl.
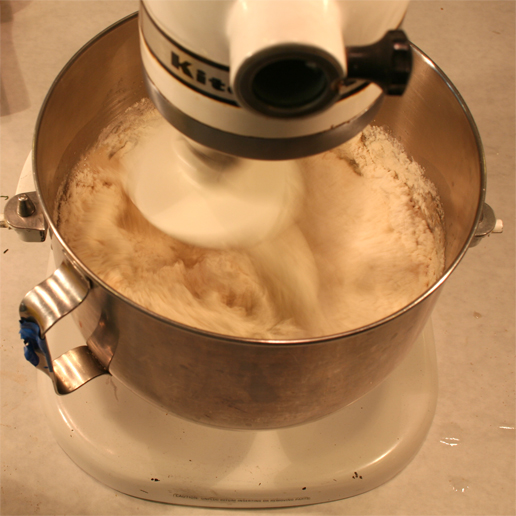
The dough is now ready for kneading.
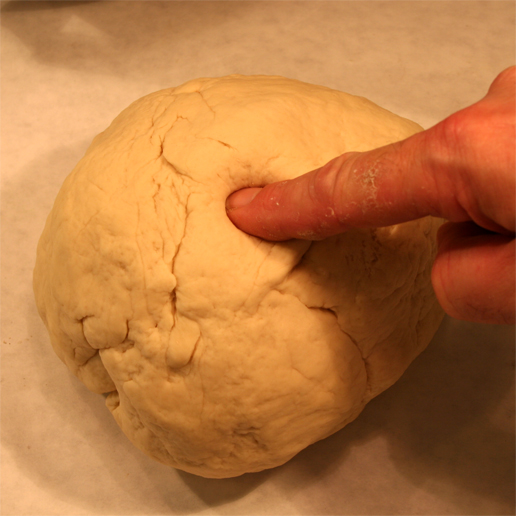
This will take a good 15-20 minutes
of energetic effort. You are nearing the end when the dough
springs back from a prodding with your finger.
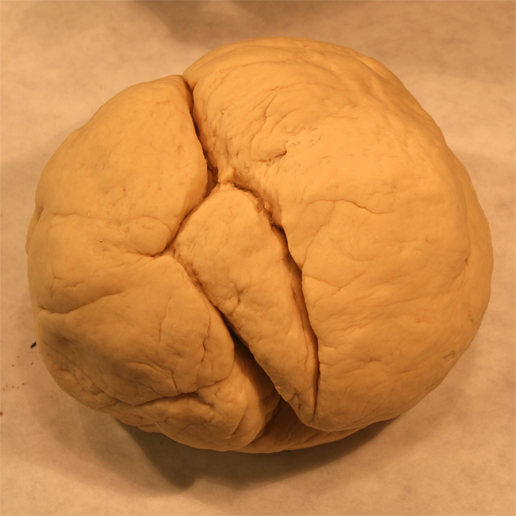
When complete the surface will be smooth and have a sheen almost like plasticene.
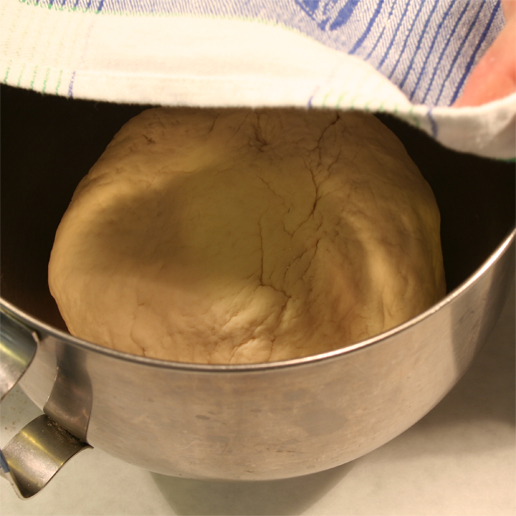
Put to bed under a cloth in a nice
warm place (like on top of the stove) until it doubles in size...at
least an hour. Then, punch it down and let it rise some
more. How much more will depend on how long it takes you to
complete the next phase.
While you're waiting for it to rise, you'll have time to cut up all the topping materials.
go to Part 2 - The Top
go to Part 3 - The Rest
email feedback
| SUBMISSIONS | • | ADVERTISERS | • | TERMS OF USE | • | PRIVACY |
| ARTICLE ARCHIVE | • | NEWSLETTERS | • | KEYWORD SEARCH | • | HELP | • | HOME |