 The Science of Hanging Pictures
Hanging pictures nicely is both art
and science. The art is the arrangement and disposition of the
pictures on the wall. The science is the method of attachment,
which is what this article is about. How to hang pictures that
are straight and level, and don't fall off the wall.
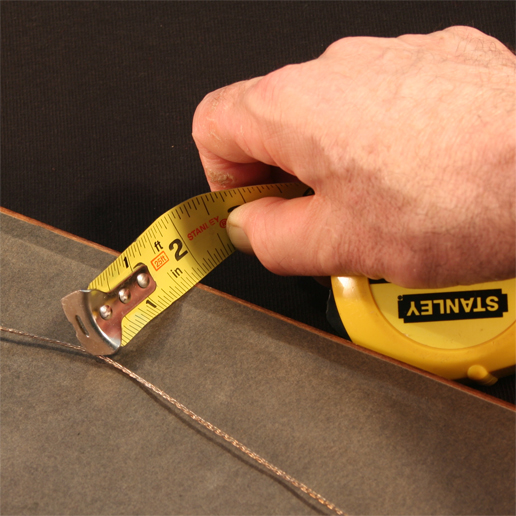
Let's assume you've already determined a line to which your picture
will be aligned. Please note: pictures should generally be hung
at eye level, which is 60-66" above the floor. As the top photo
shows, measure the distance from the probable point of attachment to
the top of the frame. Hook the tape measure at the approximate
middle of the wire and pull taut, as though the picture were actually
hanging on the wall. That is the distance from the hanging line
to the hook.
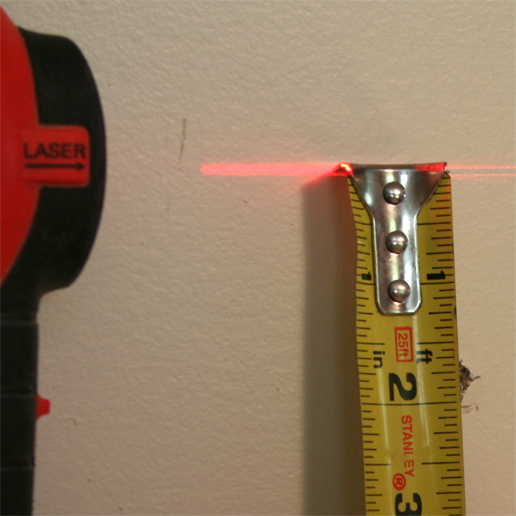
Using the line made by the laser level (if you have one) or a pencil
line lightly inscribed on the wall, measure to the point where the
screw will be inserted in the wall.
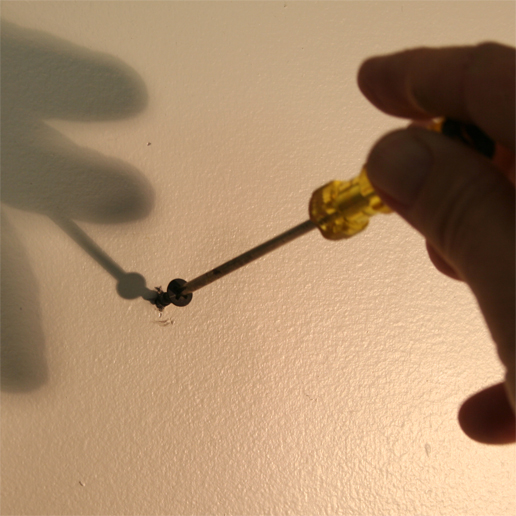
Screw a sheetrock screw into the wall
at that point. For most normal framed items these work
well. If the item is heavier than normal, use a specialty hook
rated for the weight or insert the screw only where it will intercept
the wood stud behind the sheetrock. Whatever type of hook is used
the measured distance is to the actual hooking mechanism, not the top
or any other point on the hook assembly.
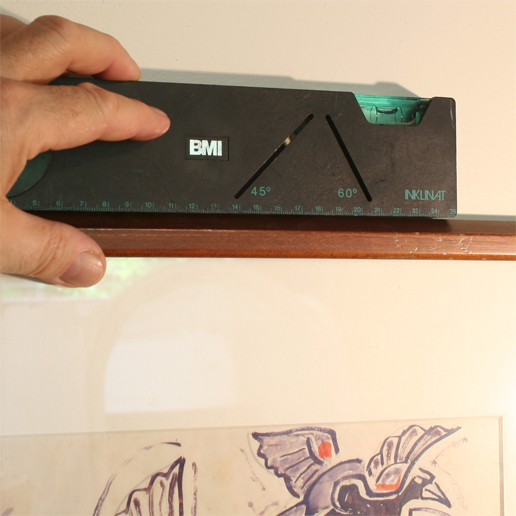
Hang the item and level using a spirit level as shown below or turn on the laser and verify the alignment.
 email feedback